Problem
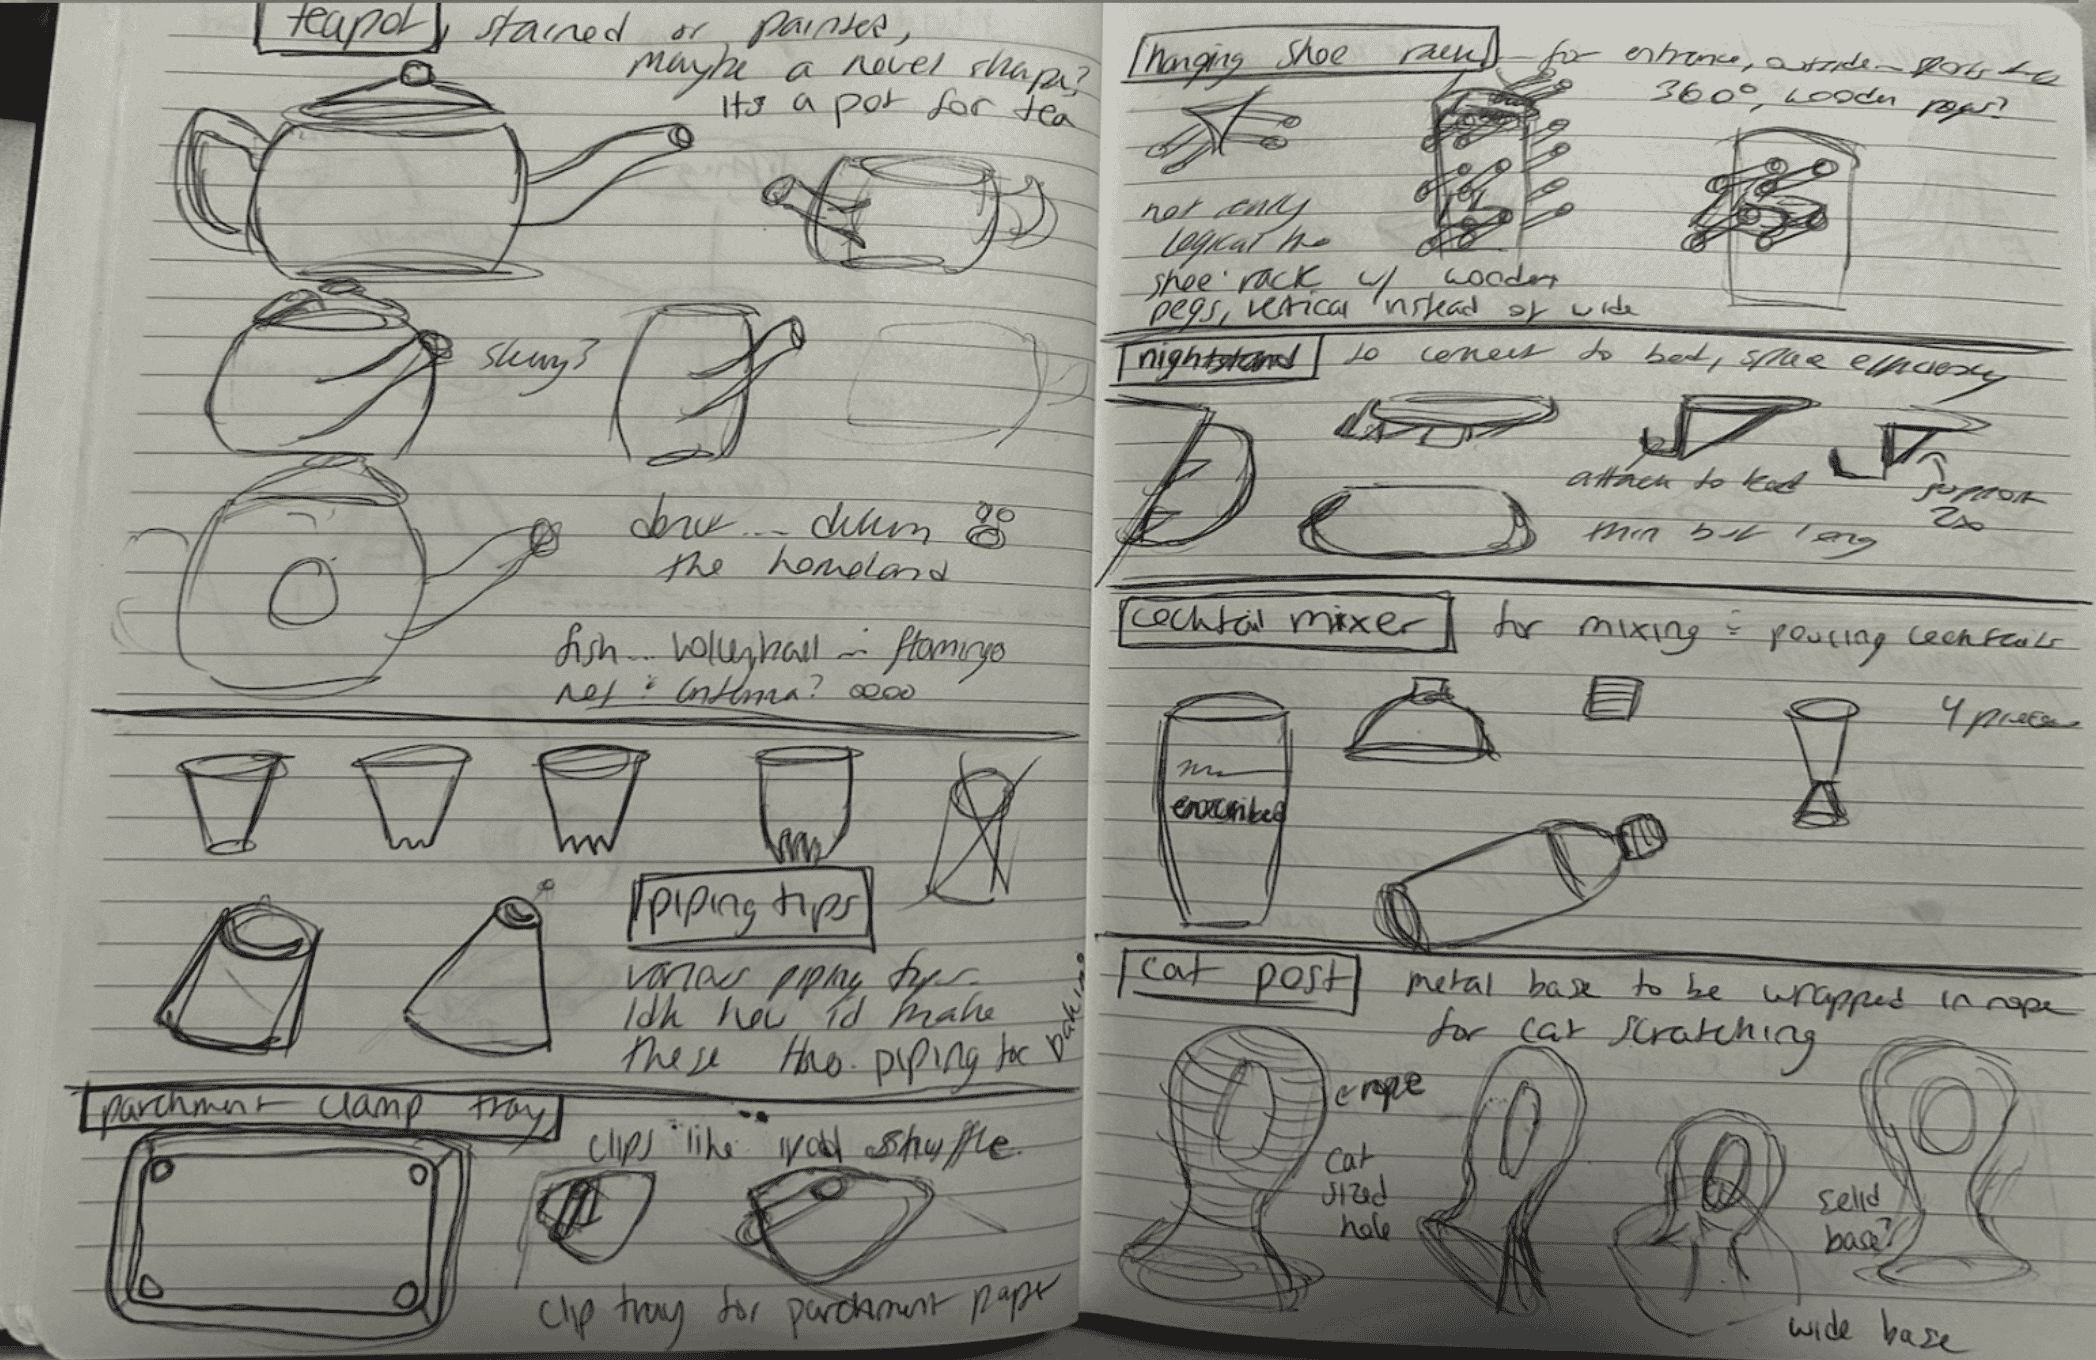
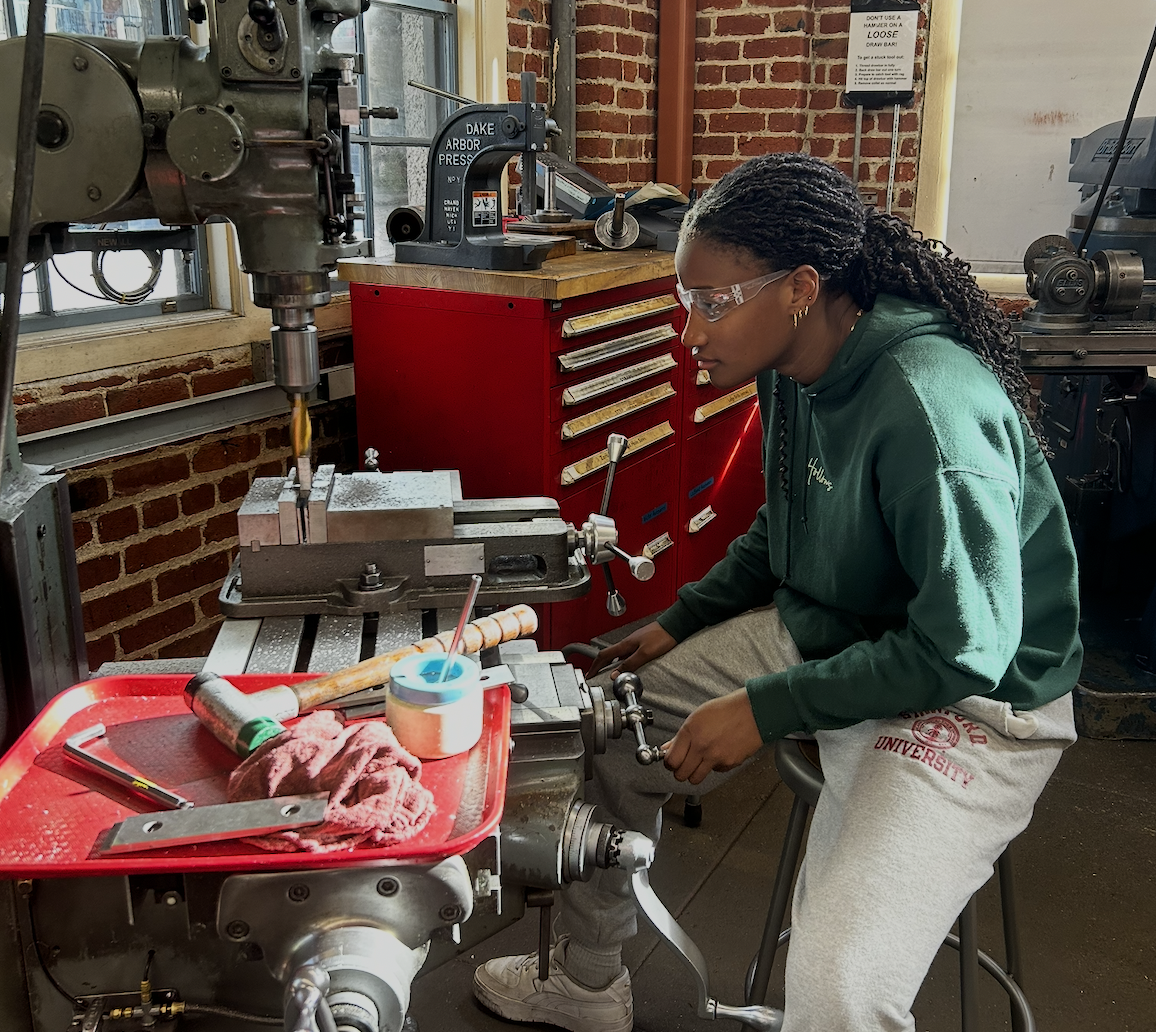
Transform a personal concept into a customer-ready physical product. Move from initial sketches and product use stories to high-fidelity CAD documents, a detailed Bill of Materials (BOM), and a final product. The continuous learning various machining processes (milling, turning, welding, tube bending, woodworking, casting) was required to ensure the prototype met the requirements for both functional performance and scaled production.
Outcome
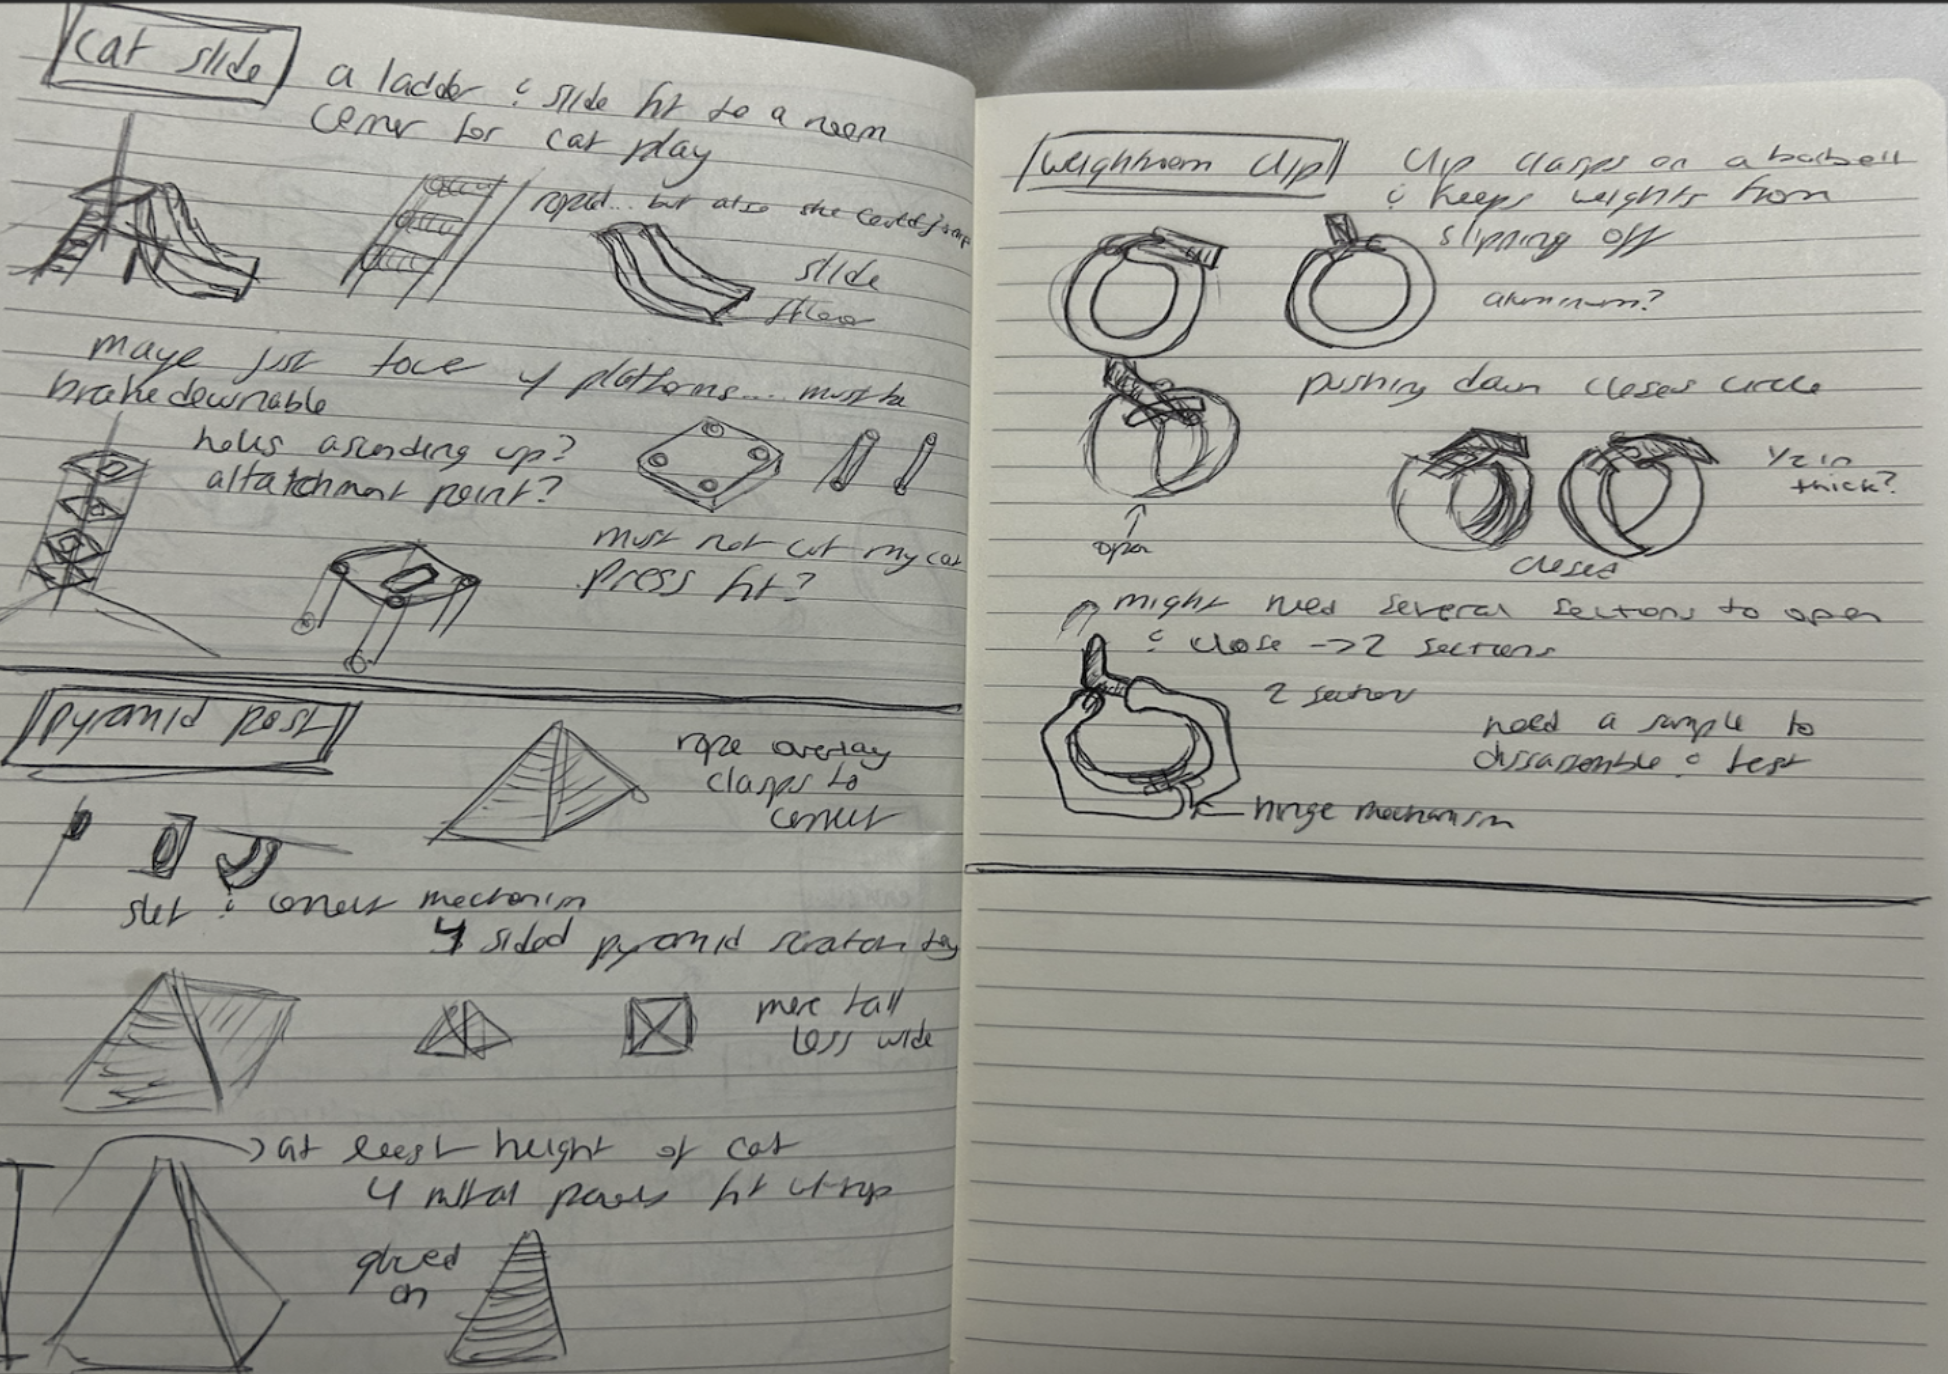
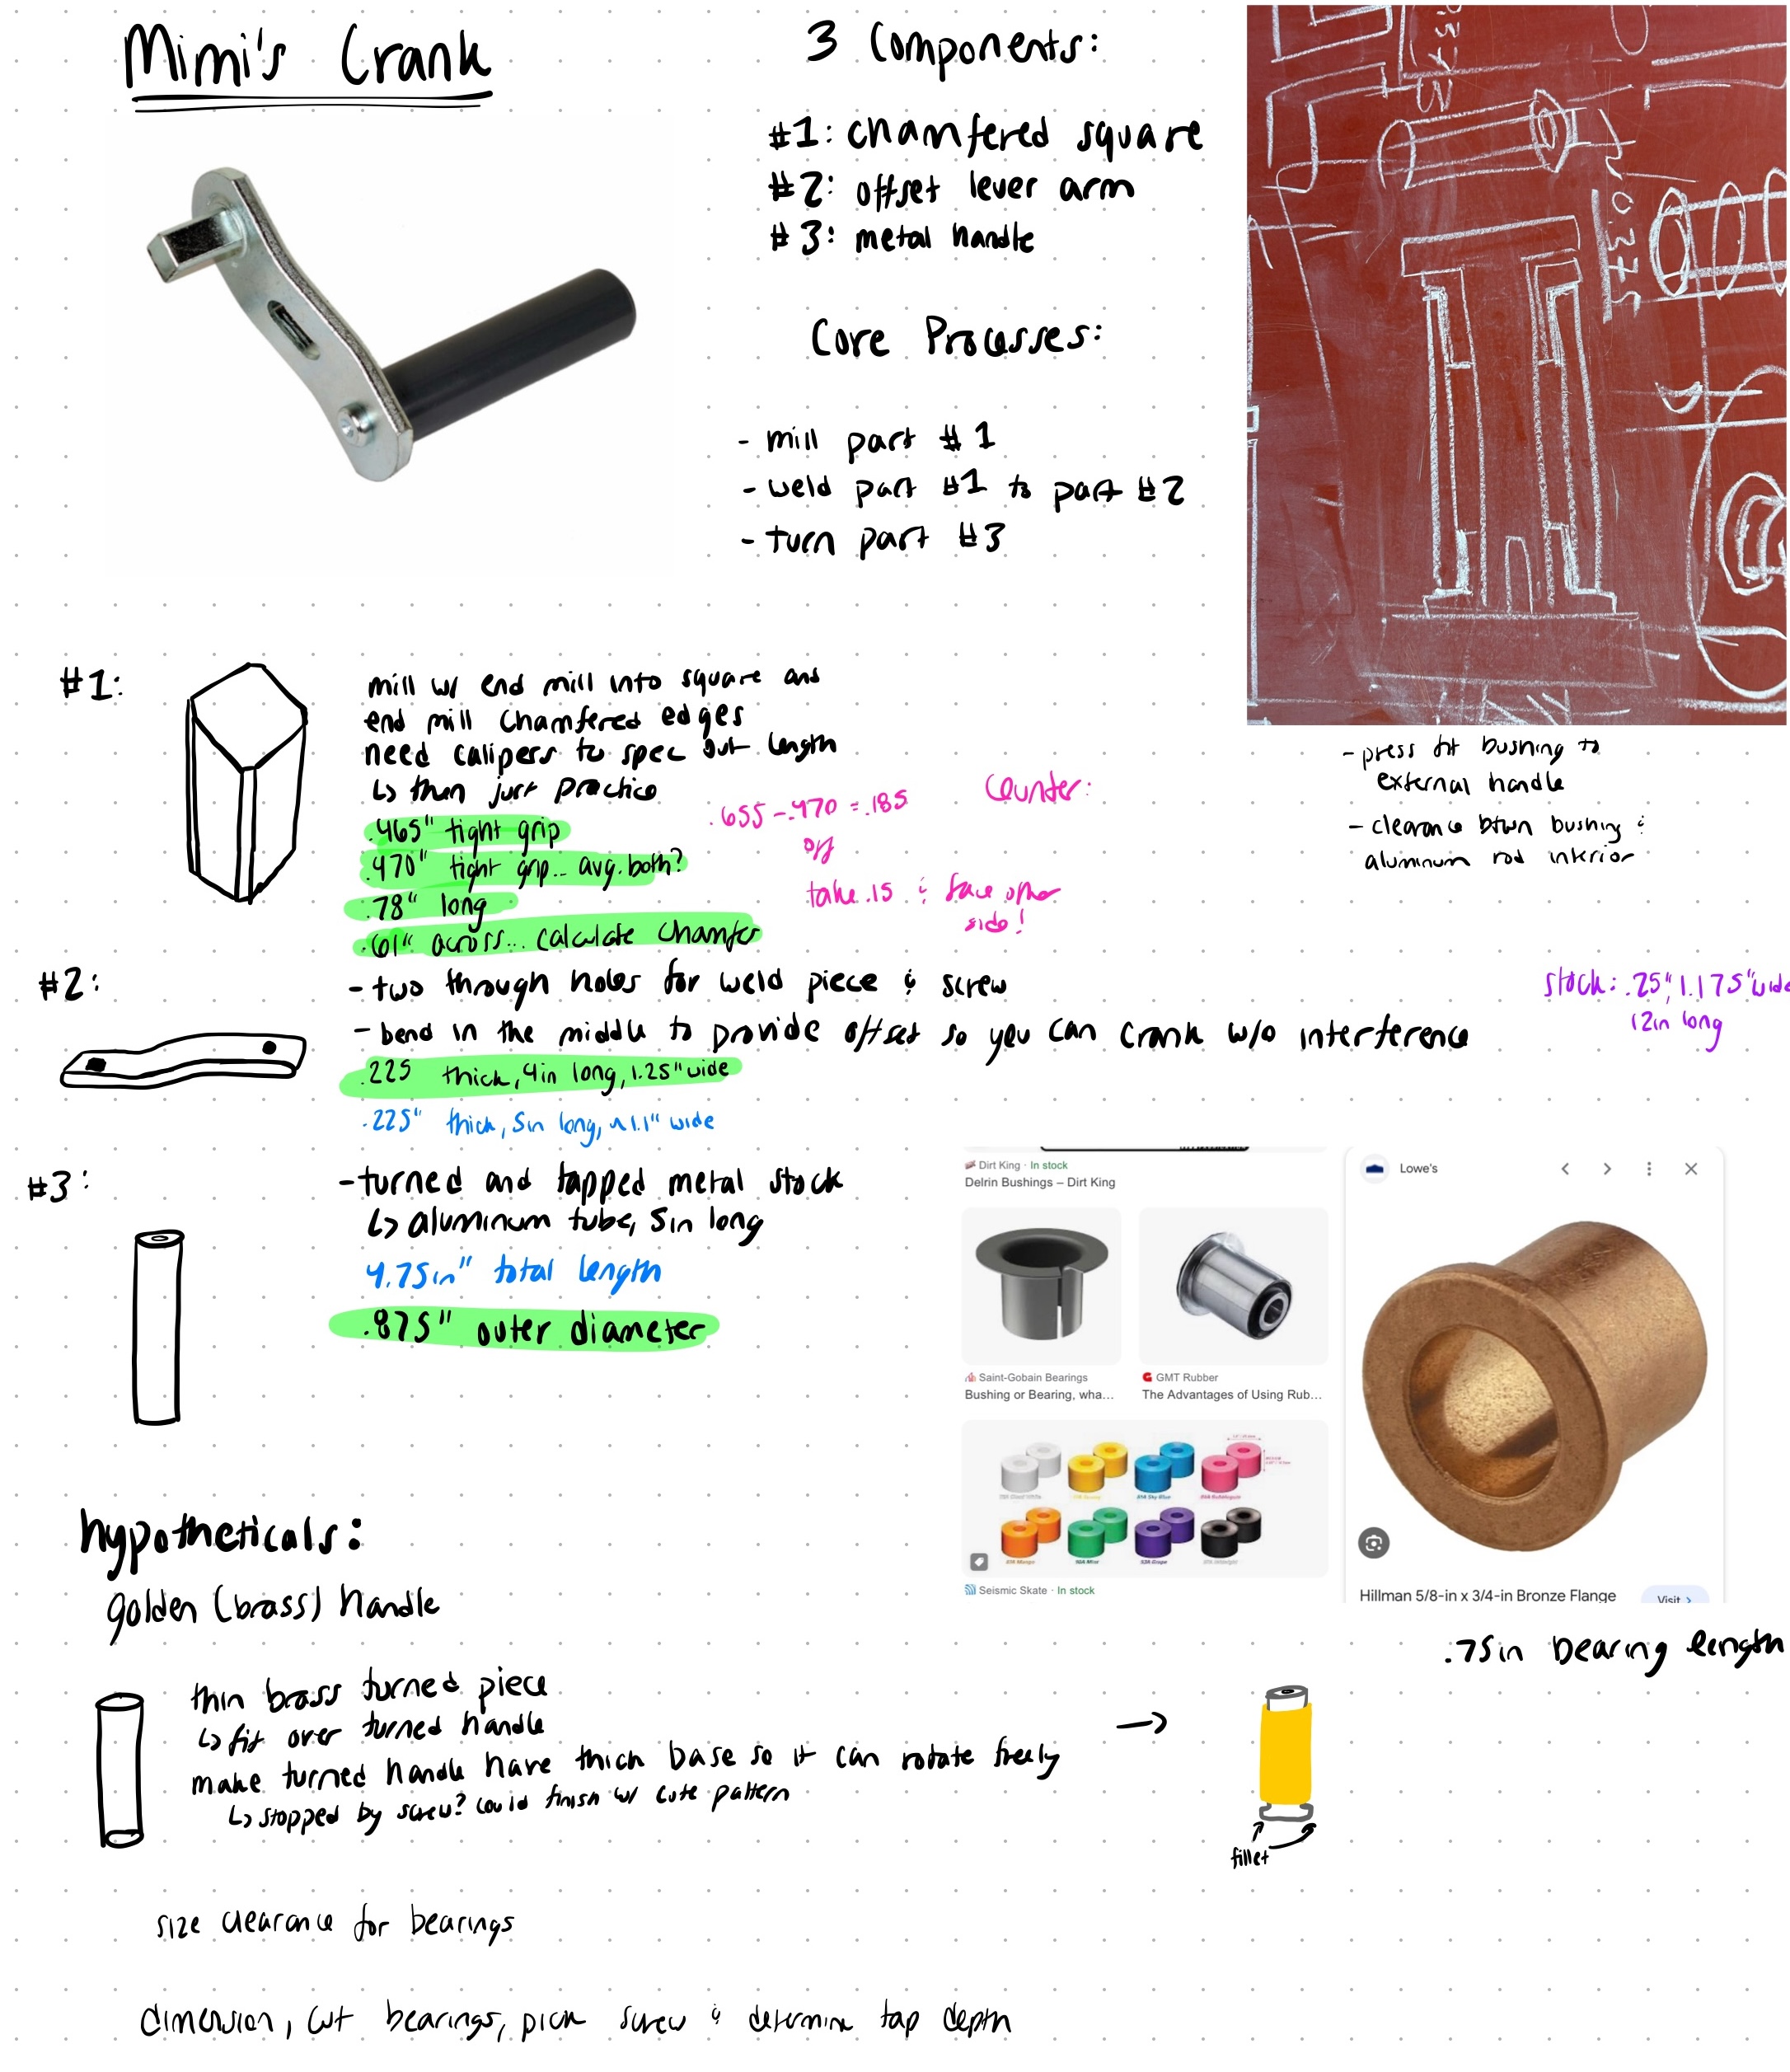
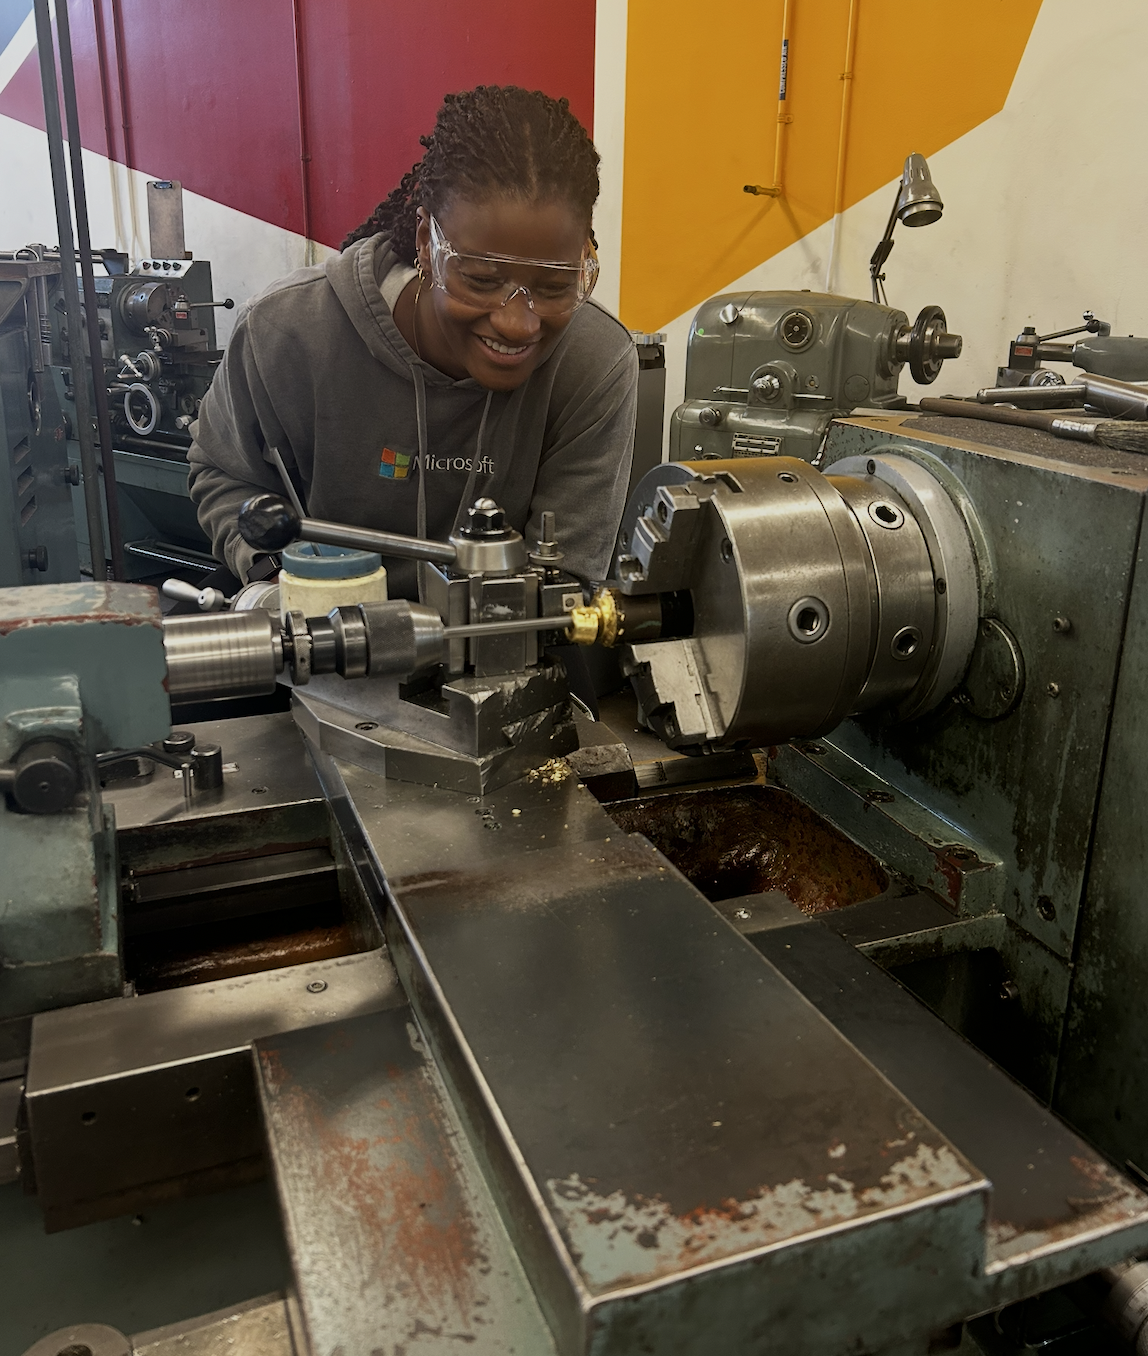
My project evolved from a failed sand-casting attempt for a custom cat scratch post into a high-precision volleyball tensioning crank. By navigating the full development cycle I successfully engineered a robust, professional-grade solution. This project served as a technical "reclamation" of my passion for volleyball, culminating in a customer-ready prototype that balances intricate mechanical design with the practical guidelines of scaled manufacturing.